
For brave homeowners who dare to install wooden interior doors independently, we have prepared step-by-step and clear instructions to avoid mistakes. If you are new to renovation, keep reading the article, which details what is included, what tools are needed, how to properly install the door frame, slab, and hardware, how long it will take, etc.
Once you have taken measurements, ordered the doors, and waited for delivery, you can proceed to the first stage. Please note that all products must "get used" to the new microclimate, so let the doors adapt to your home or apartment's temperature regime and humidity.
Unpacking and preparing tools
The Belldinni interior door kit includes the following items:
-
Door frame.
-
Slab.
-
2.5 pieces jams and five pieces casings for each side of the door. Casings could be l-shaped or plain depending on the order.
-
Hardware kit (optional): concealed hinges, hinge caps, magnetic lock, set of handles, strike plate for magnetic lock, cover plates, and screws.
Necessary tools:
-
Drill or screwdriver with bits.
-
Level.
-
Self-tapping screws.
-
Fixing nails.
-
Allen wrench.
-
Mounting foam.
Installing a door may seem complicated at first, but with the right approach and tools, you can do it yourself. Due to each person's peculiarities, it requires a different amount of time (on average 2-4 hours). Allocating a little more time can reassure you and not disrupt your plans.
If you approach this matter competently and carefully, the door installation will turn from a difficult task into a fascinating project. We wish you good luck, and we will move on to preparing the door unit for mounting.
Preparation for door unit mounting
Unpack the door and lay out the door frame profile on a flat surface. Please note that prehung service and pre-cuts are optional, and the standard undercut for Belldinni jambs is one inch.
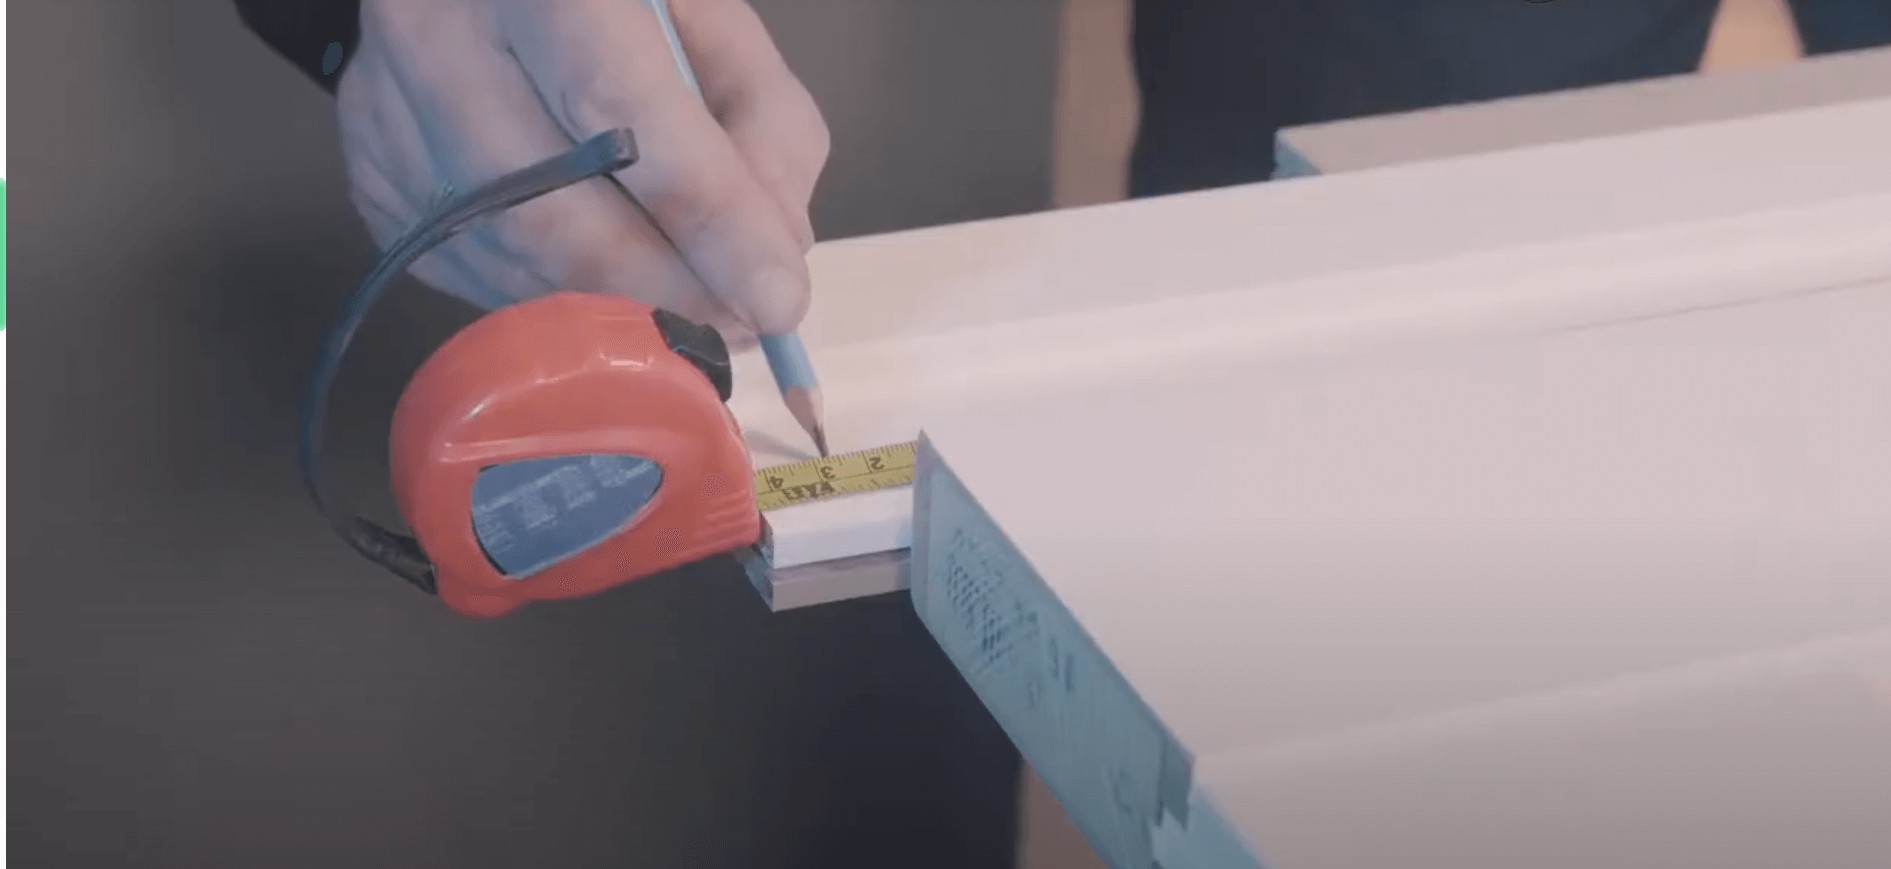
The jambs could be cut from the button side before installation in accordance with your opening sizes, floor level, and the desired gap between slab and floor.
Door frame assembling
Door frame assembling should be done with pre-drills.
So, connect the parts of the door frame (left, top, and right hands) and fix the construction with screws.

Next, use a level to ensure the floor in the room is flat. Finally, determine the type of door opening: right hand or left hand.
|
Right-handed doors |
They have hinges on the right side when you face the door from the outside. The door handle is on the left. When determining the handing of a door from the keyed side, if the hinges are on the right and the door swings inward upon being unlocked, it's considered a right-handed inswing door. Conversely, if you need to open the door and the hinges are on the left side, it's identified as a right-handed outswing door. |
|
Left-handed doors |
They are the opposite, with hinges on the left and the handle on the right from the exterior perspective. Thus, if you are standing on the keyed side of the door, the hinges are on the left side, and the door pushes after unlocking; it is a left-hand swing door. If the hinges are on the right side, it is also a left-hand outswing door. |
Door frame mounting
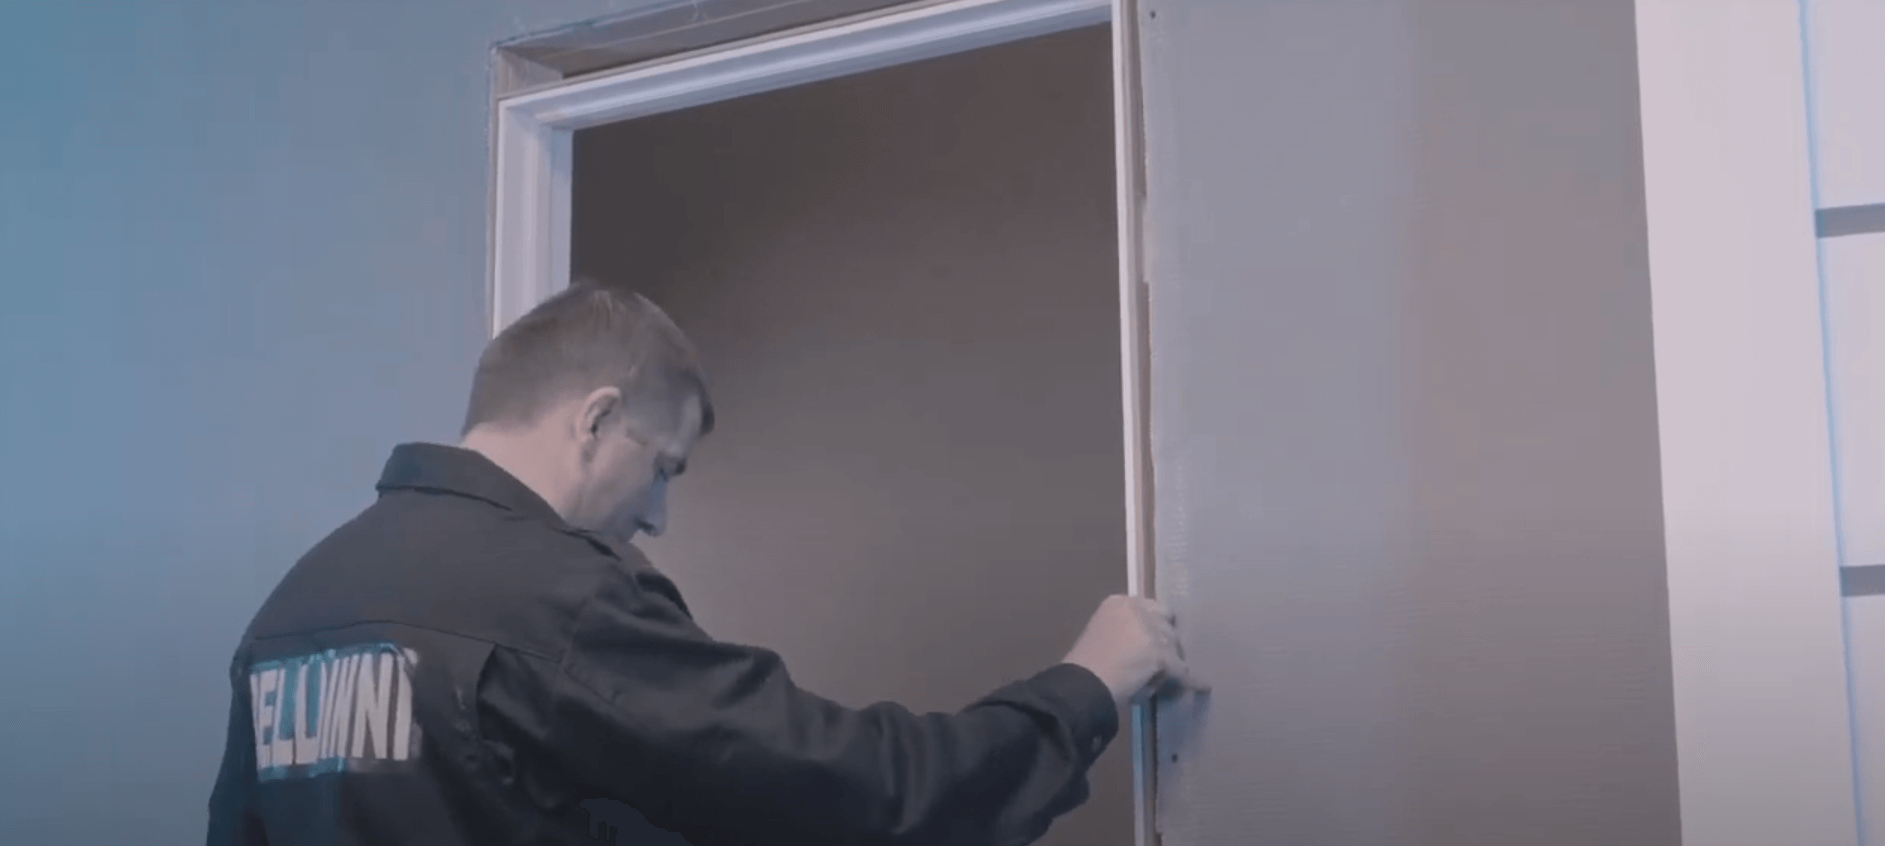
Insert the frame into the door opening (using wooden inserts would help level the frame from different sides). At this stage, you will again need a level to ensure the resulting door unit is installed without gaps. Take off the seal to make the pins and fix the frame concealed. Then fix the door frame with screws (except for the side with the strike plate), install the seal, and fill the gap between the door unit and the wall with assembly foam.
Concealed hinges mounting
Concealed hinges are a trending door hardware element due to the following advantages:
-
Reliability: properly installed hinges of quality brands prolong the door's life (withstands slab weights of over 50 kg).
-
Functionality: they are completely silent when using the door.
-
Easy adjustment: the hinges can be adjusted in three planes without removing the door slab.
-
Variety of shades: they can be made in different colors.
The back of the hinges indicates which part to attach to the door slab. Following this recommendation, install each hinge immediately there (usually two). Pre-drill is required. And secure them with screws.

Door slab mounting
To install the slab, fasten it to the door frame from the hinge side. As usual, use screws. This completes most of the repair work!
Door frame final fixation at the strike plate side
Remember to remove the seal first and then fix the door frame. As a result, it will be fully installed in the door opening.
3D concealed hinges adjustment and final level check
Adjusting the 3D hinge is possible and necessary for placing the slab at the perfect level; you'll need an Allen wrench for that. Once the door is in the correct position, install the seal.
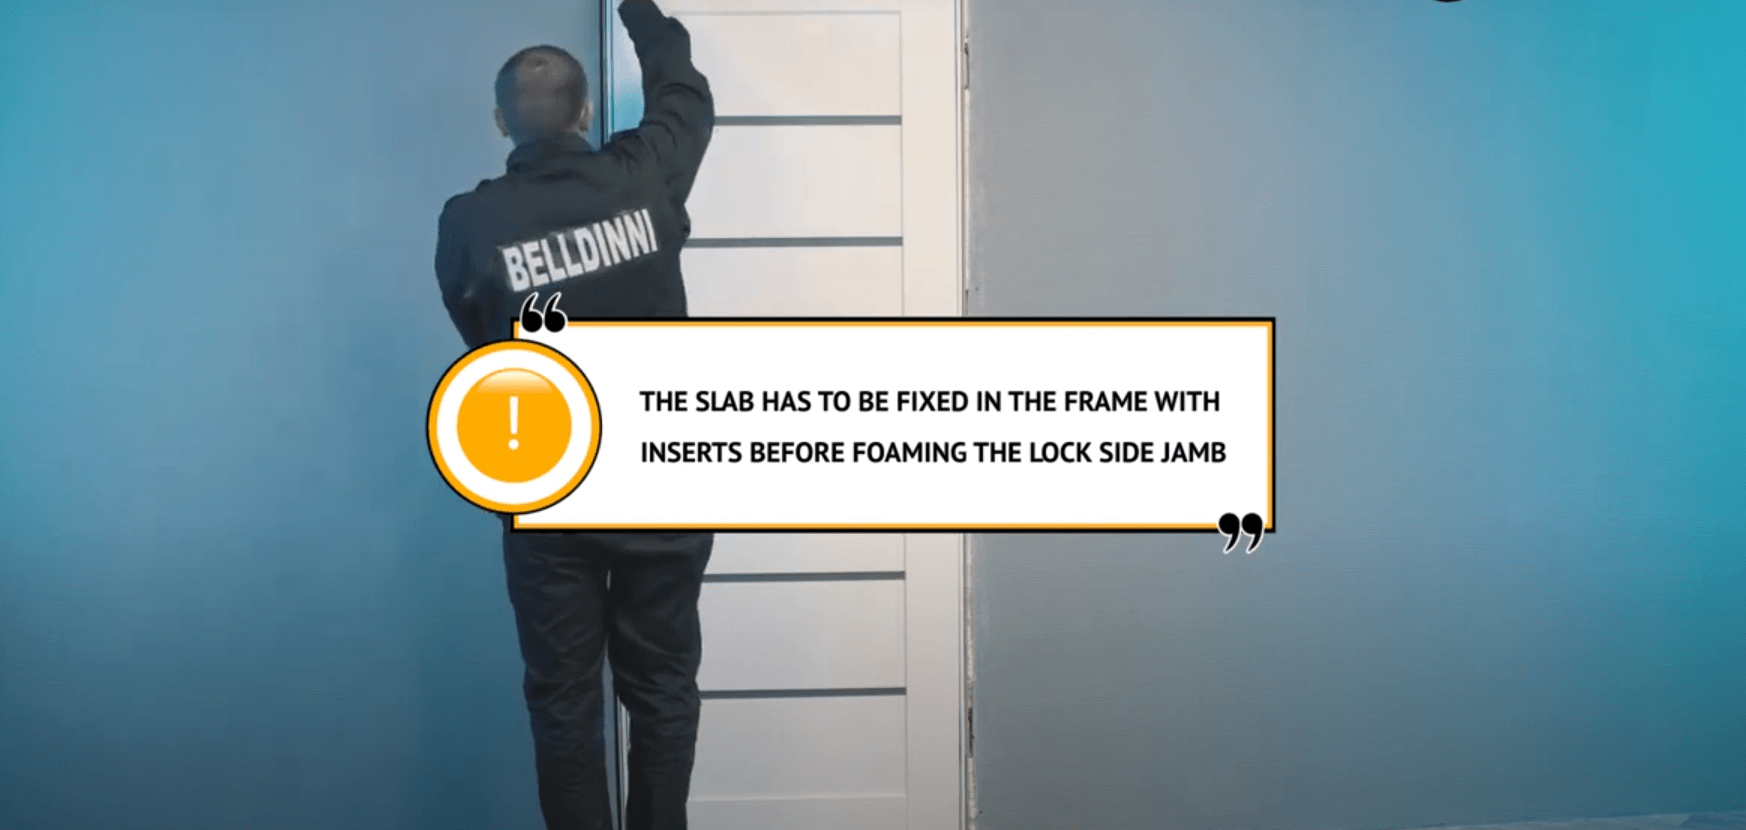
The slab must be fixed in the frame with inserts before foaming the lock-side jamb. Then, fill the gaps around the perimeter of the door frame with assembly foam and proceed with the installation of the casings.
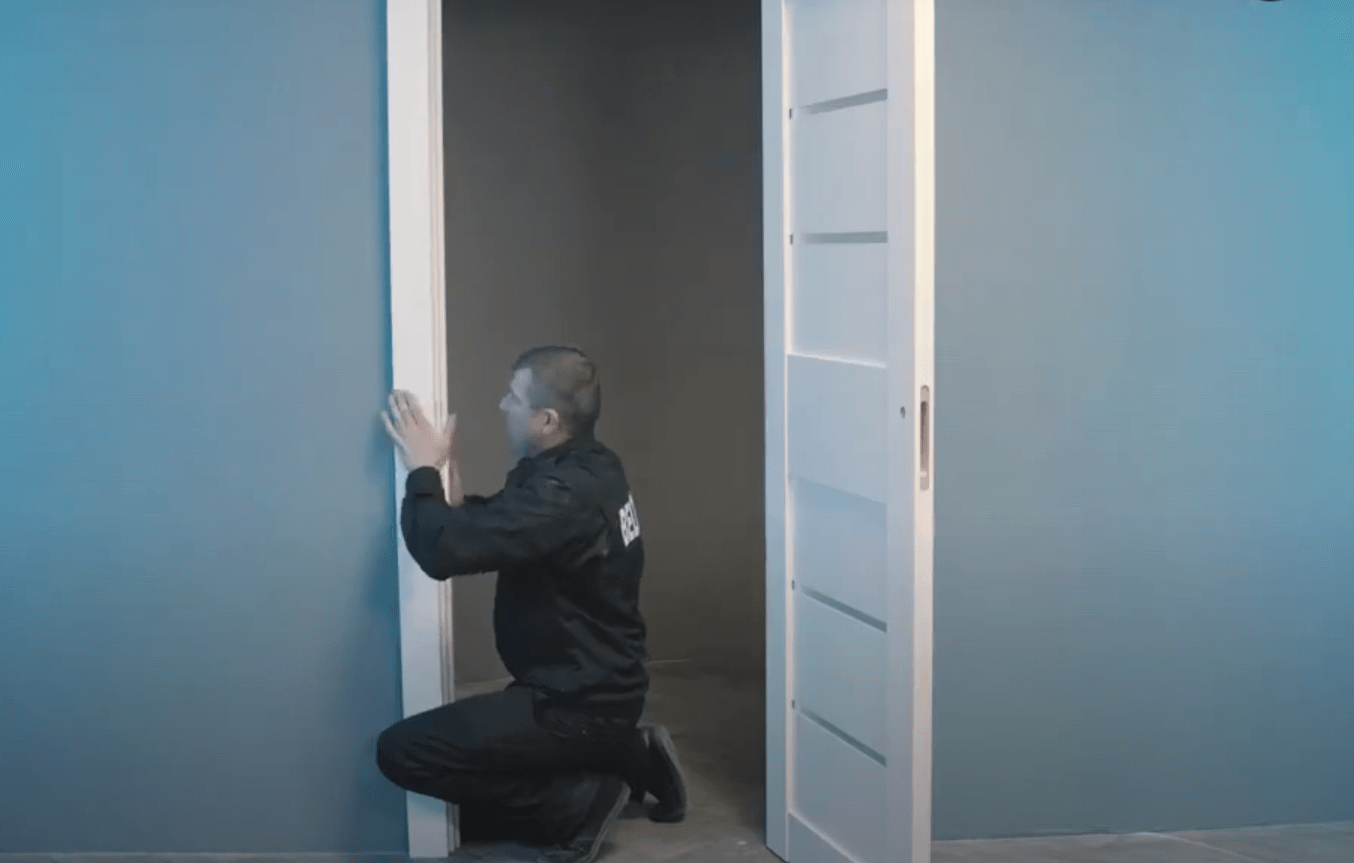
Casings mounting
Mark the places where the cuts are to be made to properly install the casing from the hinge side, avoiding the hinges from clinging. Lightly tap the right, left, and top casings to secure them.
Lock-set and hardware mounting
Install the lock and handle by referring to the holes in the slab. The correct position of the strike plate is crucial.
Magnetic locks are popular for several reasons, and here's why they deserve your attention:
-
They provide smooth and quiet operation, which is a great advantage in homes with young children, those who work remotely, or those who simply value peace and quiet.
-
They give the doors a modern appearance. Their invisible mechanism allows you to eliminate traditional hardware and choose minimalism.
-
They increase security and ease of use. They hold the door securely in the closed position, preventing it from being accidentally opened by draughts. They are also highly durable: thanks to the absence of mechanical parts subject to wear and tear, these locks are less prone to breakage and wear and tear.
Concealed hinges caps installation
So, you are left to improve the look of your interior door with decorative hinge caps. Install them and enjoy!
Casing final attachment
A pin gun is required to attach the casings better.
Remember that the most important thing when installing a door is to be patient and follow the instructions clearly. You can always choose and buy quality interior doors at Door Design Lab!